
As the Land Rover is a 4×4, it has many more oils that have to be changed compared to a standard vehicle.
This includes the front and rear axle or Differential oils. The differential oil must work very hard, even during normal use. If you go off-road and, in particular, wading in deep muddy water, changing or at least checking your diff oils is very important.
Land Rover recommends that oils in the axles be changed more frequently if you do regular deep wading whilst off-road. I can only assume this is primarily aimed at reducing the possibility of water-contaminated oils in the differentials.
The axles “should” be fully sealed, and if you have extended your breathers as I have, it’s unlikely you will get
any water into your axles unless you have a leak somewhere. Remember, if oil is leaking out, then water can get in !!! The front and rear differentials are identical on the Discovery 2, and they both take the same type and oil capacity. Below is the workshop manual info.
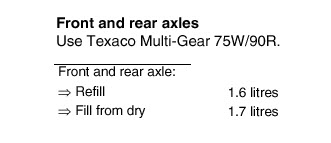
My local Land Rover dealer no longer supplies the differential oils in 1-litre bottles as they use them from a large barrel in their workshop. So with this in mind, I looked elsewhere to see what was around. As long as you choose a high-quality oil that meets the above specifications, all will be ok.
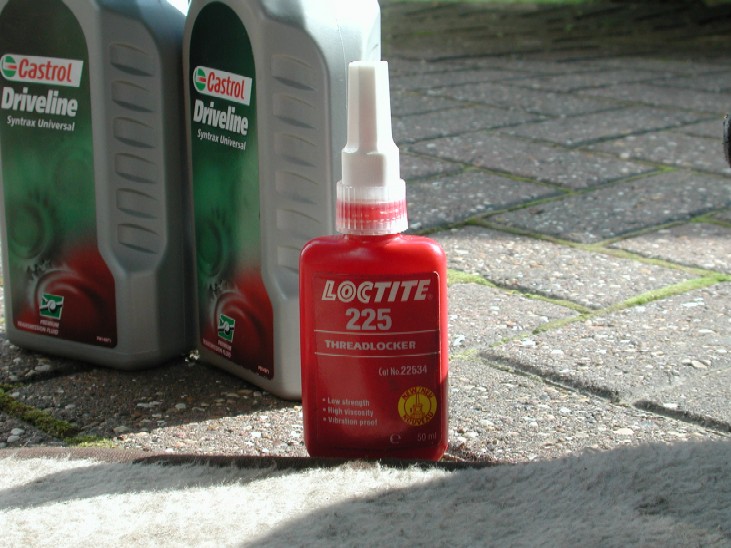
In the end, I decided to use Castrol Syntrax, which is a semi-synthetic, and it is readily available at my local
Halfords store. To ensure you have enough, you must buy 4 litres.
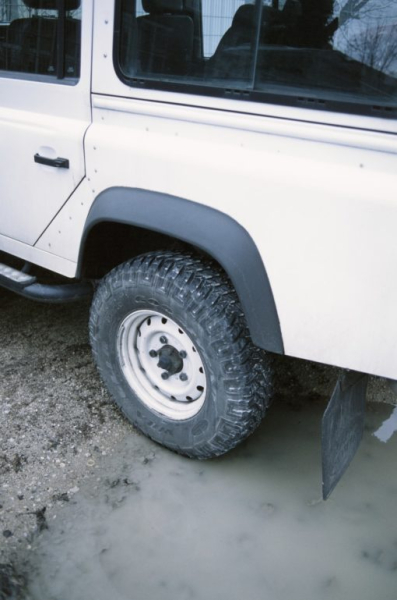
So, first of all, you need to get your truck parked on flat-level ground to make sure you can fill the differentials to
the correct level as they fill to overflow. My driveway is slightly downhill in both directions, so I parked the Disco on wood blocks to even it up. Getting the roofline horizontal, front to back, and side to side is pretty good.
Now, a word of caution: The fill plug on both differentials is made from plastic. It’s a 21mm spanner and
has a slot in the middle to allow a large flat-bladed screwdriver to be used. I had heard these plugs can break/chew up when trying to remove them, so with this in mind, I had bought some a while ago, ready for
when I do this job. It’s a good idea to ensure you can get your fill plugs out BEFORE you drain the oil. Otherwise, you may have a problem !!.
I started on the rear diff and attacked the fill plug, first with a spanner and then a screwdriver, then both simultaneously, and I could not move it!! Ultimately, I had no choice but to chisel the plug and knock it loose. This obviously made a mess of it. The plug has an “o” ring behind it, which I consequently chiseled through, but I had a selection of new “o” rings in the garage to solve that issue. The “o” ring is shown/mentioned in the workshop
manual, but no reference is made to it in the parts catalogue (good old Land Rover !! ). For your information, it has an internal diameter of 22mm and is about 3mm thick.
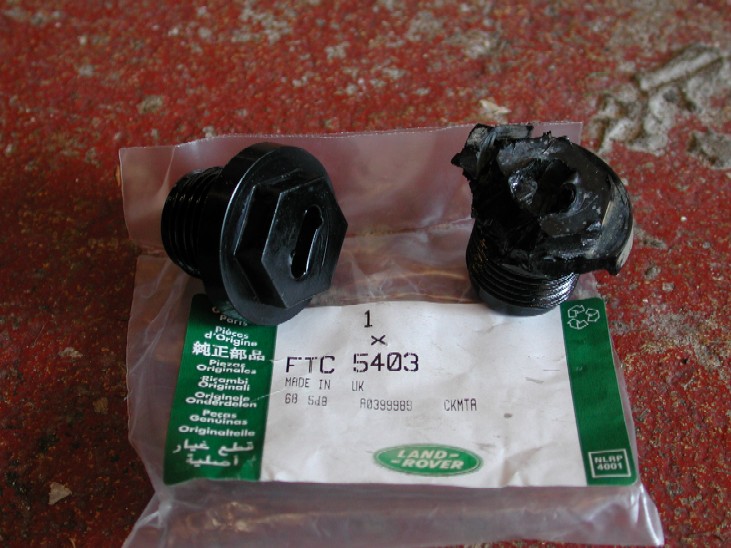
If you are careful, you should be able to avoid damaging the “o” ring and still get the plug out. Below, you can see the old plug destroyed while removing it, the new one, and the part number on the bag.
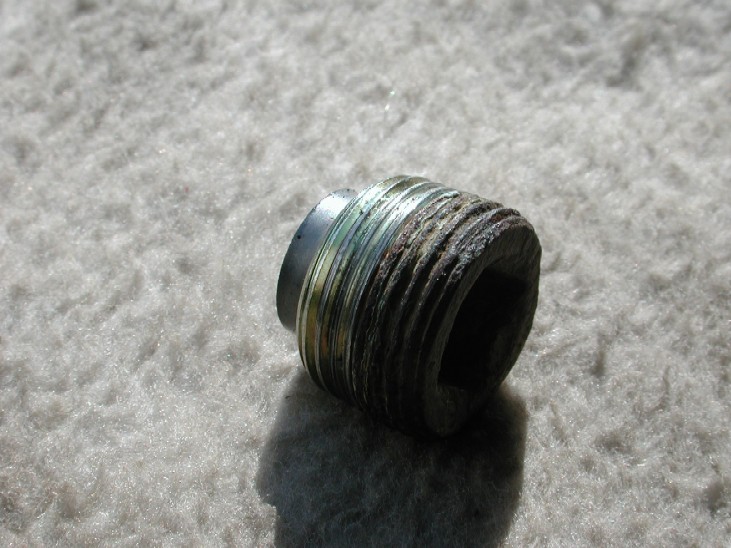
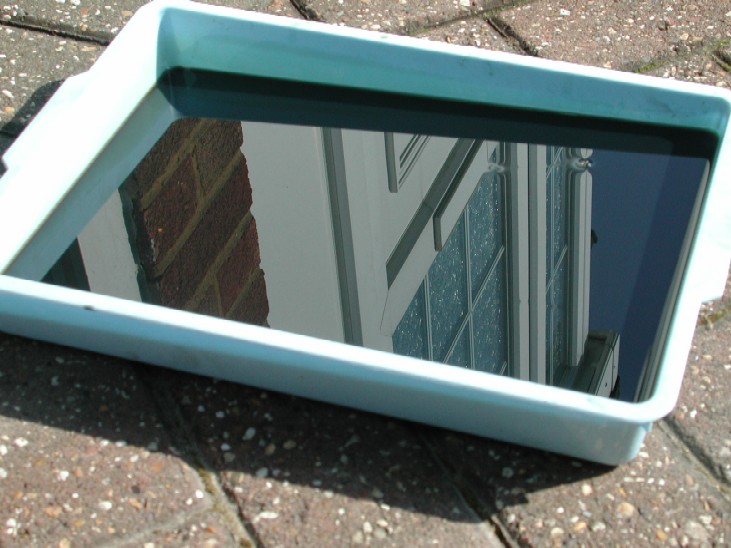
Now, you must place a container under your drain plug to catch the old oil. The drain Plug has an internal
1/2″ square drive in it. So a ratchet or breaker bar will remove it with no problem. The plug is also magnetic to collect any metal particles in the diffs either from the vehicle’s manufacturing ( most likely) or general wear and tear during use.
You will find it covered in a very fine metallic grate. This all needs to be cleaned off before refitting. Also, make sure any traces of the Loctite are removed from the threads.
Let the oil drain into the container. I left it for a good 10 minutes to let all the last drips of old oil come
out.
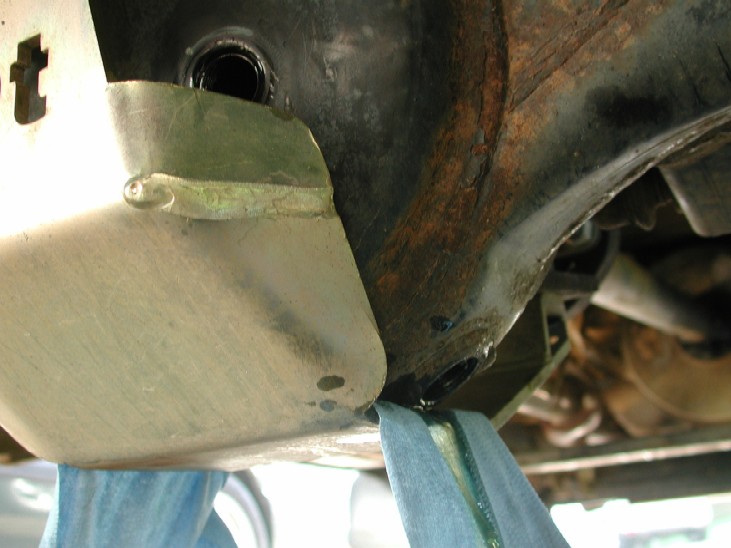
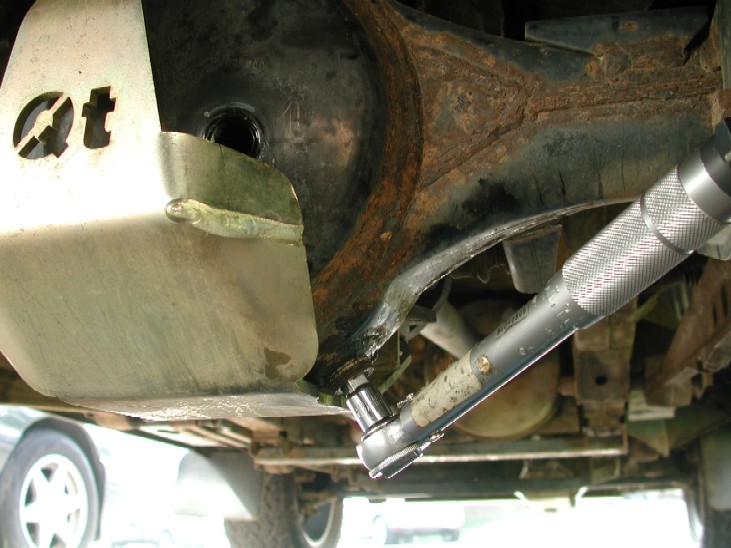
Here, you can see my QT diff guard. It has a clearance machined in it to allow the drain plug to be removed.
Access to the fill plug is only slightly restricted as well. If you cannot get on your plugs squarely because you have diff guards, it’s best to remove them first to make access easier.
Once it has all drained and you have cleaned up the drain plug, apply some Loctite thread lock/sealant to the
threads
Then refit it back into the axle and torque it up to 64 NM or 47 Lbs ft
Here’s a picture of my old oil. It was a bit black and well-used. However, it still smelt “ok,” and most important of all for me is the fact there were NO traces of water even after all the wading I had done :o)
Now, the “possibly” messy bit: The new oil bottles have an extendable spout, which makes the job a lot
easier. On the rear axle, there is plenty of room to hold the bottle higher to allow the oil to be poured in easier. Space is a bit more limited on the front axle, and you will need to squeeze the bottles to help get the oil in.
Now, you fill the axle till it overflows with approximately a 2mm bead of oil dripping down the front of the case. At this point, clean the axle case off and refit the fill plug, tighten to 10 NM or 7 Lbs ft, and you are done!
The procedure is identical for both the front and rear axles.
Notes:-
On My car, I had to remove the front QT axle Diff guard to make it easier to get the fill plug out.
I also parked the car on larger wood blocks to aid access underneath the front end.
The front axle fill plug came out with no problem, but it’s always advisable to have at least 1 new one available to
you when you do this job.
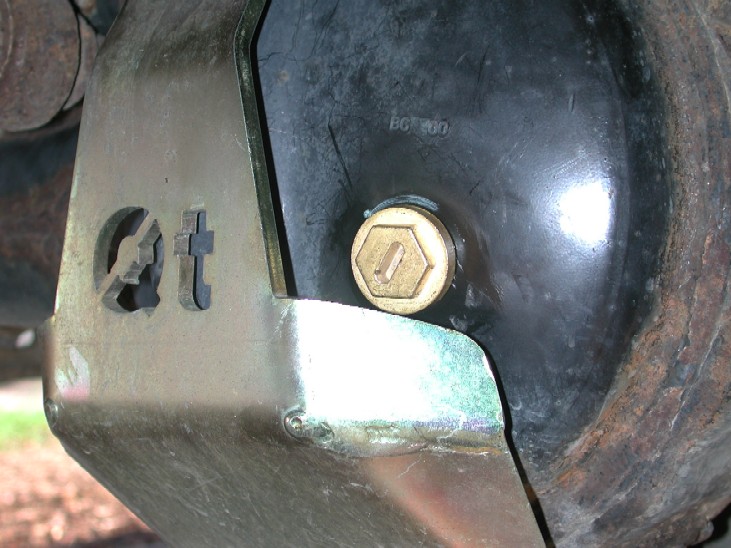
UPDATE:-
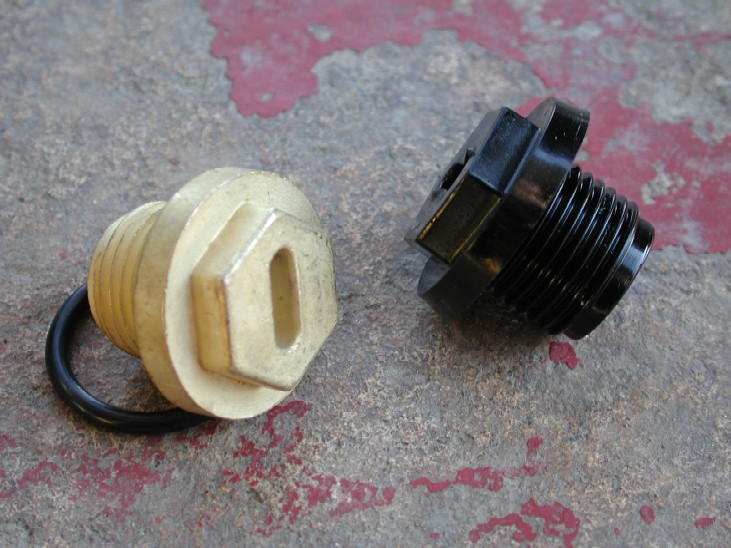
After the hassle of getting the diff fill plugs out, I looked for a replacement even though I had fitted new plugs. After
a bit of searching around, I found a brass replacement plug easily available on eBay. It is designed to fit the bleed plugs on the early Discovery 1’s radiators and Defenders. However, it’s the same thread/design as the Diff pan fill plugs, and it’s a flanged plug with an “o” ring seal.
Fits perfectly and now wont ever chew up when removing them….
The same plug fits both front and rear diff pans. I simply drove up onto some ramps to change the front one so I did not lose any of the new oil and reversed up the ramp to change the rear plug.
Share this article

Written by : Land Rover Club Team
The Land Rover Uganda Media and Editorial team.
